Units, Defenses & Air Support Database
Technical specifications, pricing mechanics, and upgrade progression for all deployable military assets in Zombies Aren't Real. Use the filters below to search by tactical role, weapon caliber, or tier rating.
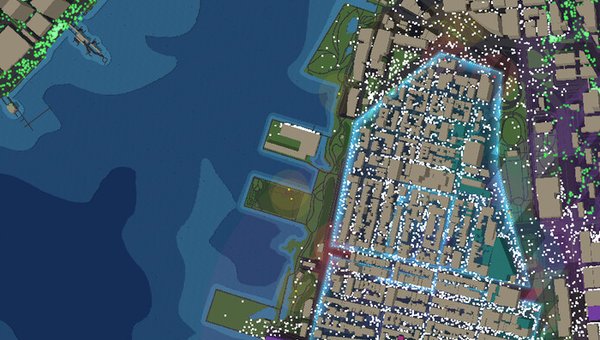
Garrison Infantry
ROLE:Perimeter Screening & Door Holding
- ✔Extremely economical for early perimeter control
- ✔Holds doorways and windows, forcing horde to slow down
- ✖Cost scales upward with each additional garrison purchased in planning ($15, $20, $25...)
- ✖Can get overrun quickly by massive dense swarms without mortar/turret support
Always purchase your first 4-6 garrisons early in the planning phase to lock down narrow intersections before their price ramps up. Place them at critical doorways and draw your Safe Zone directly around their building perimeter.
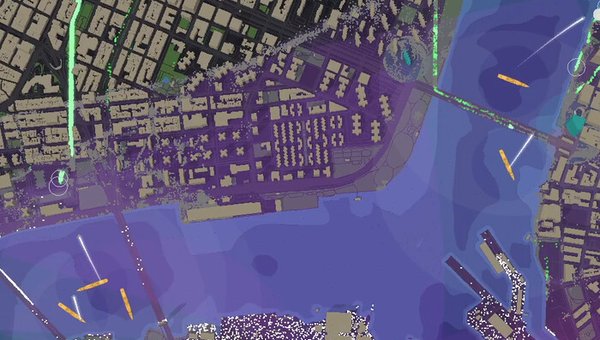
Marksman Sniper
ROLE:High-Value Target & Runner Interception
- ✔Top-tier cost efficiency ($35 flat makes it the best value unit in the game)
- ✔Converts any rooftop into an active high-threat defensive perimeter
- ✖Fragile if building base is compromised or infected
- ✖Low rate of fire means they cannot stop massive dense clumps on their own
Press 'H' or 'V' to toggle 3D building height inspection. Always place Snipers atop 3+ story buildings overlooking long straight avenues or bridge crossings. Pair 2 Snipers with 1 Garrison holding the ground-floor doorway.
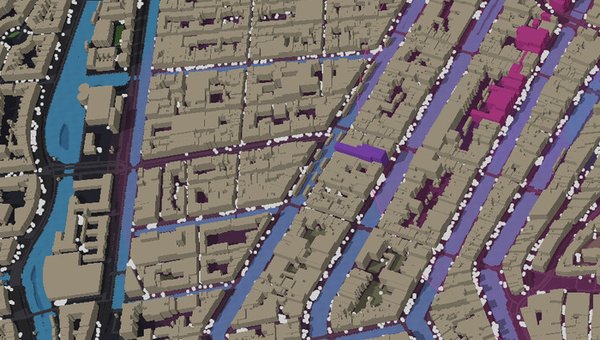
Heavy Mortar Squad
ROLE:Clustered Horde Obliteration & Area of Effect
- ✔Ignores line-of-sight and building obstruction entirely via high arcing shells
- ✔Obliterates clustered hordes of 50-100+ zombies in 1-2 direct detonations
- ✖Large minimum firing distance (40m)—defenseless if infected reach within their dead zone
- ✖High collateral risk: misdirected shells can destroy civilian evacuation corridors or hit your own safe zones
Place Mortars deep in the interior of your innermost Safe Zone behind dual barricade layers. Always prioritize the $150 field upgrade immediately—it triples their firing rate to 15 rounds/min and substantially shrinks their reload cycle.
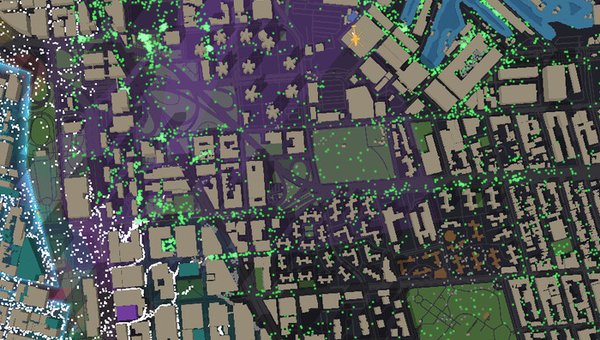
Automated Sentry Turret
ROLE:Directional Chokepoint & Bottleneck Shredder
- ✔Immense sustained DPS against hordes funneled into a single straight corridor
- ✔Does not take up precious building garrison capacity
- ✖Geometry bet: cannot rotate quickly or handle wide plaza flank maneuvers
- ✖Does not benefit from the unlimited safe zone reload perk
Never drop a Turret in an open town square. Place them at the exit of narrow alleyways or bridgeheads flanked by barricade walls ('K' key) so the entire zombie swarm is forced down its barrel center.

Automated Napalm Flame Sentry
ROLE:Swarm Melting & Narrow Alley Cleansing
- ✔Penetrates infinitely through infinite bodies in narrow alleys
- ✔Melts baseline 2 HP zombies in 0.5 seconds
- ✖Extreme danger to civilians: any evacuee touched by fire dies instantly
- ✖Short range requires placement behind barricade lines
Position flame sentries behind fortified security gates on streets completely cleared of civilians. When a massive wave approaches, the flame jet vaporizes hundreds of zombies in seconds.

Armored Personnel Carrier (APC)
ROLE:Mobile Strongpoint & Rapid Reinforcement
- ✔High mobility allows dynamic repositioning when a perimeter breaches
- ✔Heavily armored hull can absorb immense horde pressure while crushing low-tier zombies
- ✖Can get surrounded and immobilized in dead-end streets or narrow rubble alleys
- ✖Requires clear street transit corridors (cannot cross barricaded roads without gates)
Keep APCs on standby in secondary arterial avenues. When a primary perimeter begins buckling, order the APC to plug the street opening while ground units fall back to secondary defensive gates.

Rapid Deployment Paratroopers
ROLE:Instant Hot-Drop Defensive Plug
- ✔Zero travel time: can be dropped on any walkable street or rooftop across the entire map
- ✔20 elite soldiers instantly form an emergency defensive wall
- ✖Non-refilling charges per mission (treat as irreplaceable ammunition)
- ✖If dropped directly into the center of a dense swarm, they will be overwhelmed and killed within seconds
Do NOT panic-drop paratroopers directly onto a charging swarm. Instead, drop them 1-2 blocks ahead of the horde behind an existing corner or building so they have time to establish firing lines and dig in.
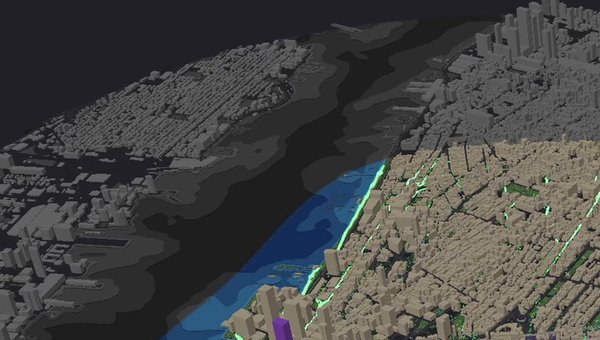
Tactical Gunship Helicopter
ROLE:Hovering Perimeter Overwatch & Crowd Suppression
- ✔Immune to ground-based melee attacks from zombies
- ✔Can loiter over critical bottleneck intersections to erase entire waves
- ✖High collateral risk: indiscriminate gatling spray will mow down civilian evacuees in the crossfire
- ✖Loiter duration is limited per sortie (25 seconds)
Call the Gunship only when the horde is traversing uninhabited industrial avenues or cleared infected zones to ensure zero civilian casualties. A single run can eliminate 200+ zombies.
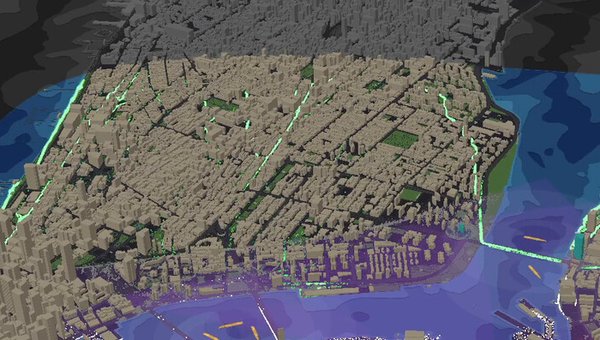
Precision Guided Missile Strike
ROLE:Surgical Deletion of Mutant Clusters & Breaches
- ✔Pinpoint accuracy eliminates dangerous mutant clumps without leveling entire neighborhoods
- ✔Instantly closes newly opened breach points and clears street blockages
- ✖Extremely scarce charges per run (usually 2-3 max)
- ✖Single-point radius means it won't clear an entire dispersed wave
Save precision strikes for when a high-density mutant clump is about to shatter a primary evacuation gate. A well-placed strike resets the battle line instantly.
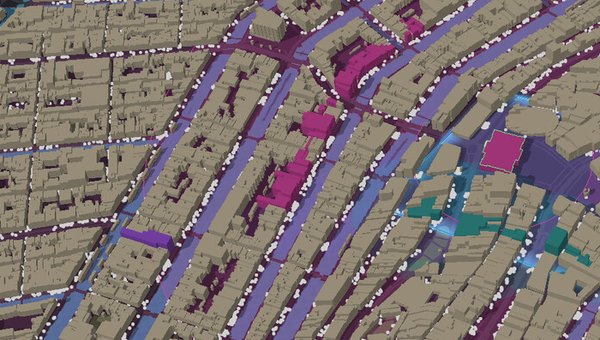
Fortified Wall Barricade
ROLE:Full Pathing Obstacle & Street Closure
- ✔Very low cost ($10)
- ✔Completely seals off side-streets, funneling the entire horde into primary kill-boxes
- ✖Completely blocks civilian movement as well as zombies
- ✖A sealed wall with no gate will trap fleeing civilians in dead-end streets to be infected
Use walls to seal off 3 out of 4 approaches to your base. Always leave one primary avenue open with a Gate ('G' key) so civilians can enter the Safe Zone while defenses concentrate their fire.

Reinforced Security Gate
ROLE:One-Way / Controlled Civilian Evacuation Valve
- ✔Allows civilians to stream safely into the interior Safe Zone
- ✔Can be manually toggled or held by garrison guards to block following zombies
- ✖More expensive than standard wall segment ($25 vs $10)
- ✖If left open when infected arrive, creates an immediate catastrophic breach
Place gates along the natural path of civilian flight. Position a Garrison or Sentry Turret directly overlooking each gate to eliminate trailing zombies before the gate must be sealed.
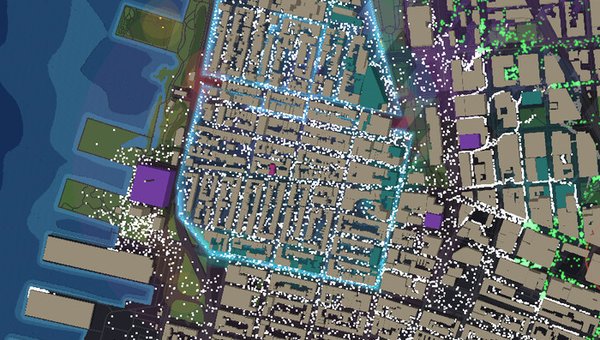
Caltrops & Barbed Wire Spikes
ROLE:Slowing Delay & Movement Impairment
- ✔Cheapest item in the game ($1.00 allows widespread carpet deployment)
- ✔Dramatically slows down fast zombie sprinters (50% speed penalty)
- ✖Degrades and gets crushed after a certain number of zombie steps
- ✖Does not stop zombies outright
Carpet bridges and narrow alley entrances with continuous rows of spikes. At $1 each, you can layer 20-30 rows to cut the horde's movement speed in half while your turrets open fire.
Emergency Broadcast & Radio Station
ROLE:Civilian Rally Beacon & Range Extender
- ✔Broadcasts evacuation alerts, drawing hidden civilians out of buildings toward safe corridors
- ✔Prevents civilians from wandering aimlessly into zombie-infested sectors
- ✖Significant investment ($120)
- ✖High-priority target for special mutant acoustic sensory variants
Build radio towers near your main Safe Zone entrance. It guarantees maximum civilian rescue counts, which directly translates to high mission scores and upgrade unlocks.
NO MATCHING ASSETS FOUND
Try adjusting your keyword filter or switching category to "All".